
STEP 1
STEP 1: GENERAL TIPS, SAFETY & GENERAL LAYOUT
When wood burning (traditionally known as “Pyrography”) it’s important to understand a few things first:
1.) Make sure to wear your safety gear like glasses, gloves, and a mask (if you have a respirator even better although the materials I use are non-toxic it’s always best to play it safe). When I first started I learned the hard way what it can be like without it: when I didn’t wear my safety goggles my eyes turned red and swelled up; when I didn’t have a glove I left a burn (and later a blister) the size of a coin on my hand; and a mask is just plain smart.
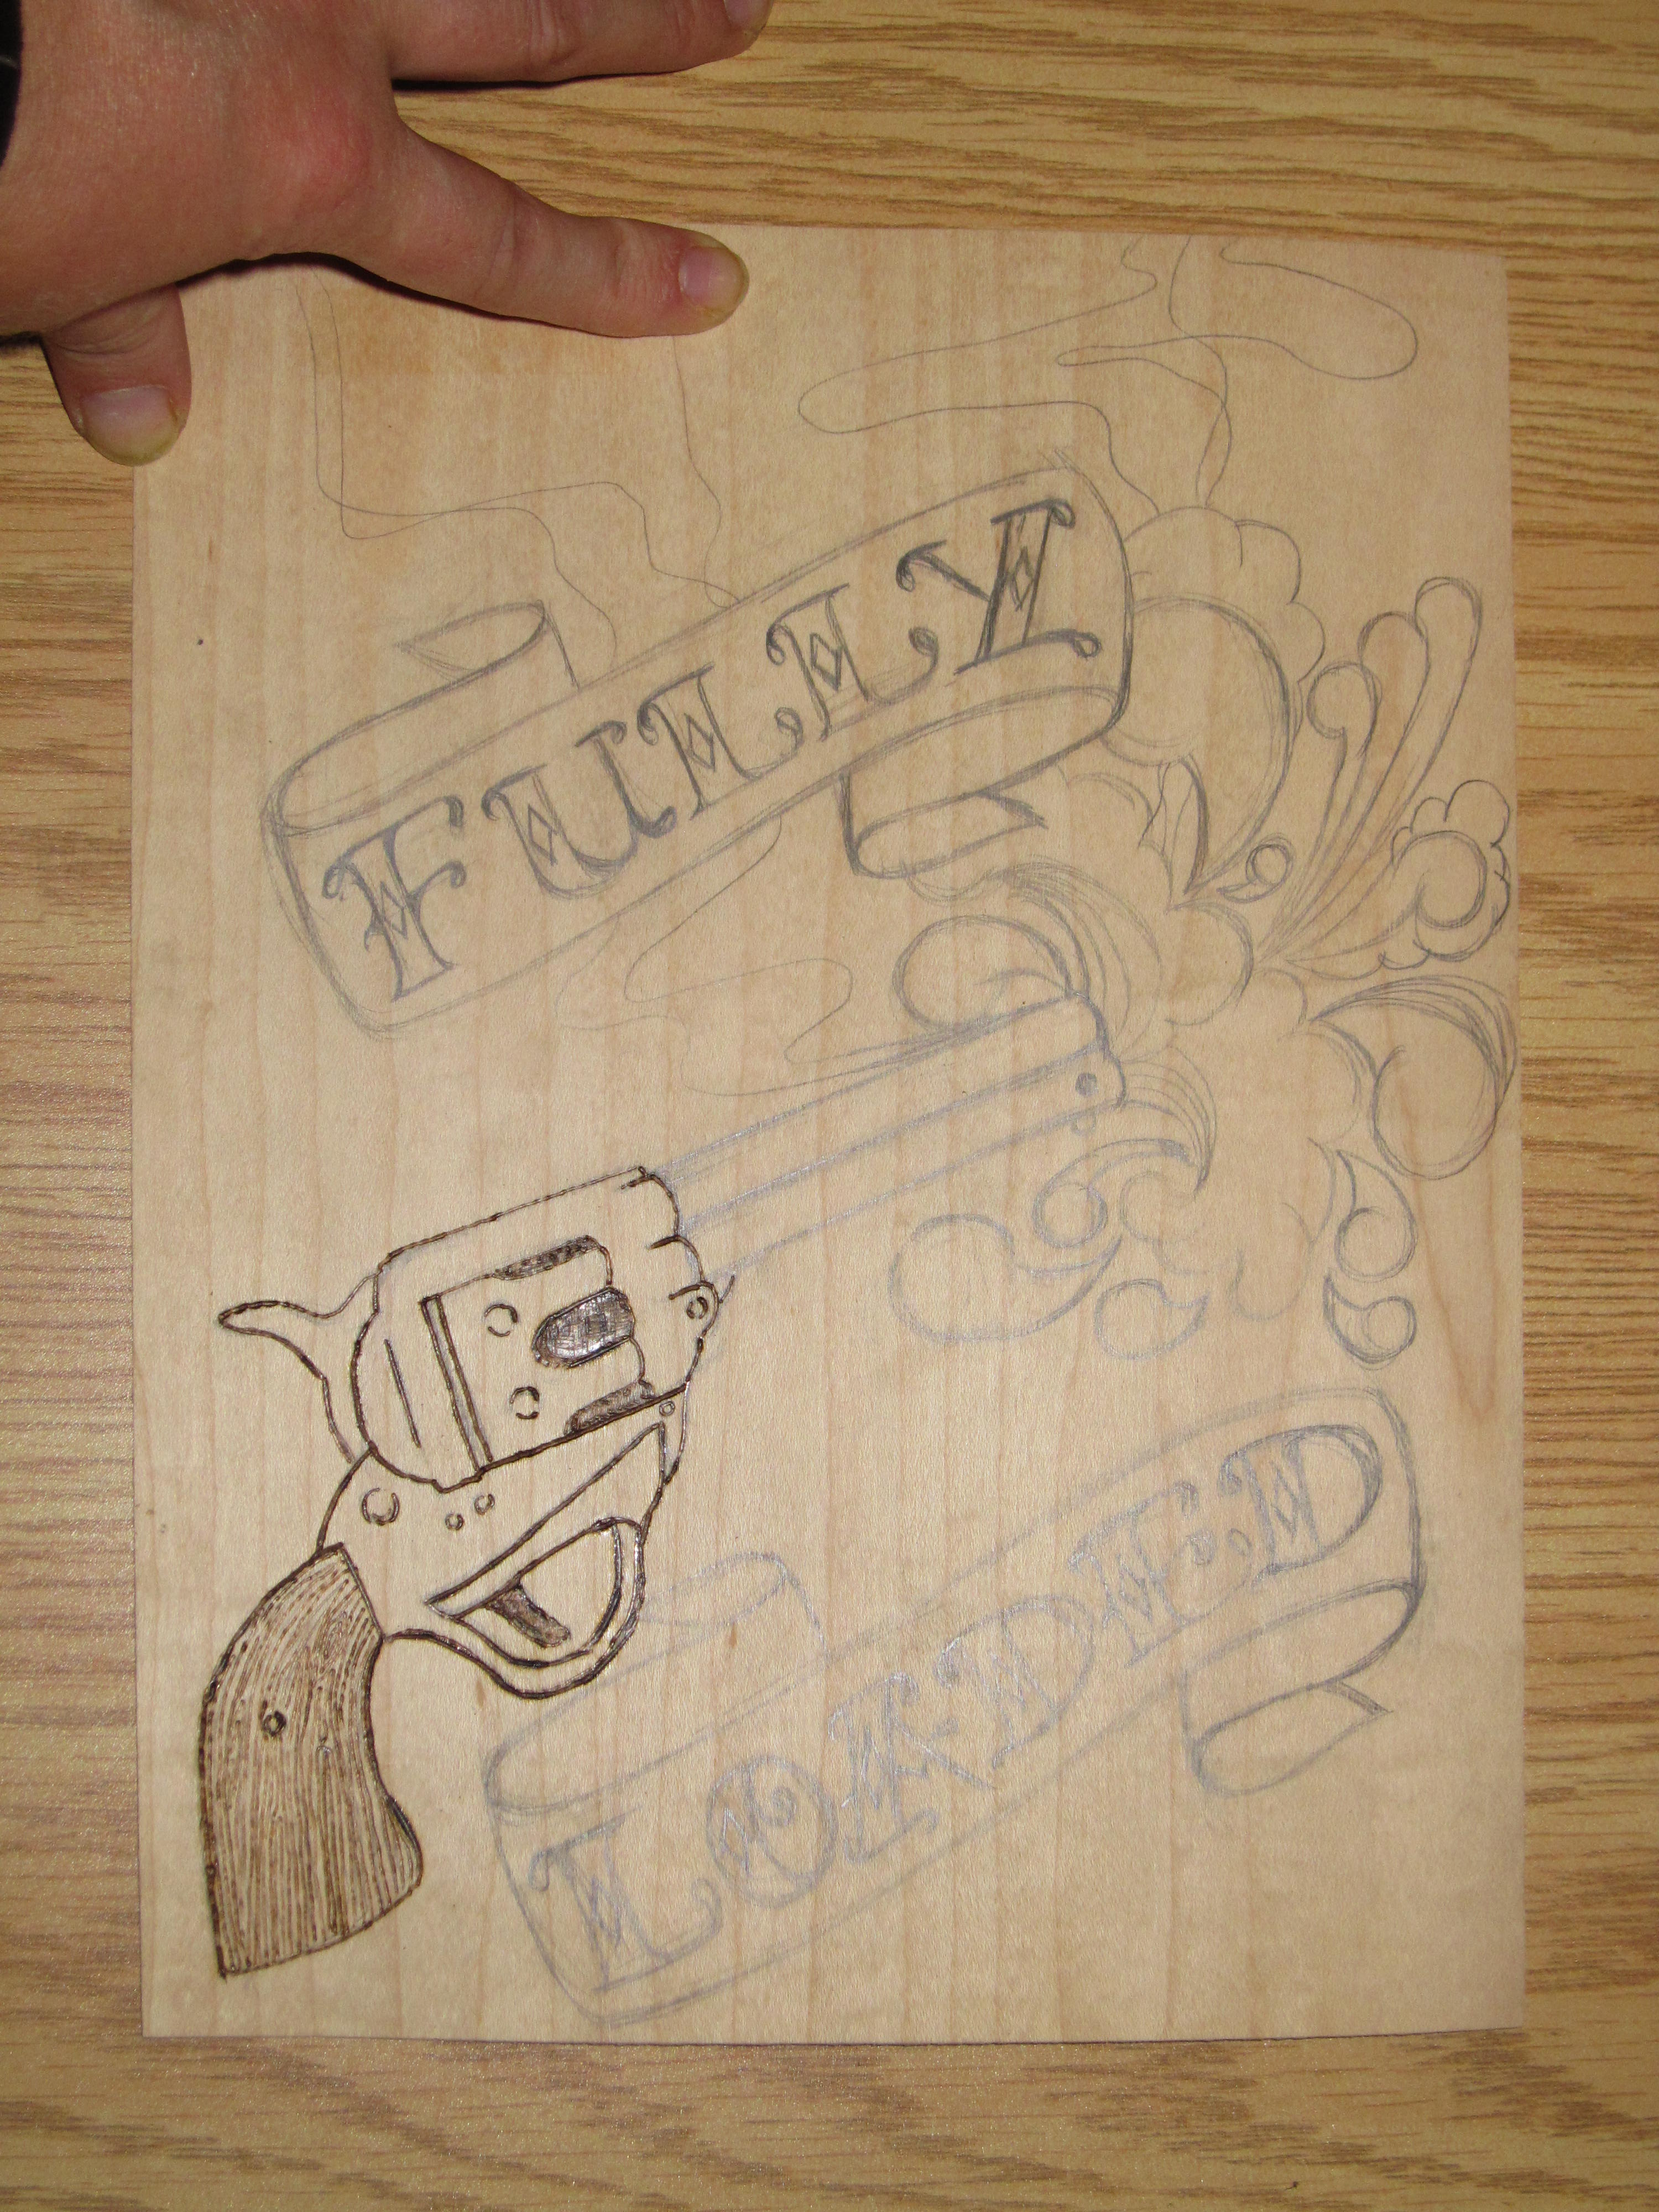
2.) Wood veneer can be a temperamental material as there is grain, sap and imperfections you can’t see with the naked eye. Sometimes I’ll cut 1/2″ off of the end of the piece I’d like to work on and test to see how long it takes to make a straight line, a circle or basic shapes I’ll use in my design. Whenever possible go with the grain rather than trying to work against it, sometimes it’s just a matter of patience. You can also try using a steel ruler but I try not to use tools and let my muscle memory and patience do the work. This stage here you see I’ve already drawn out my design in pencil and started to trace the handle.
STEP 2
STEP 2: WORKING WITH THE TOOLS & DEVELOPING DETAIL
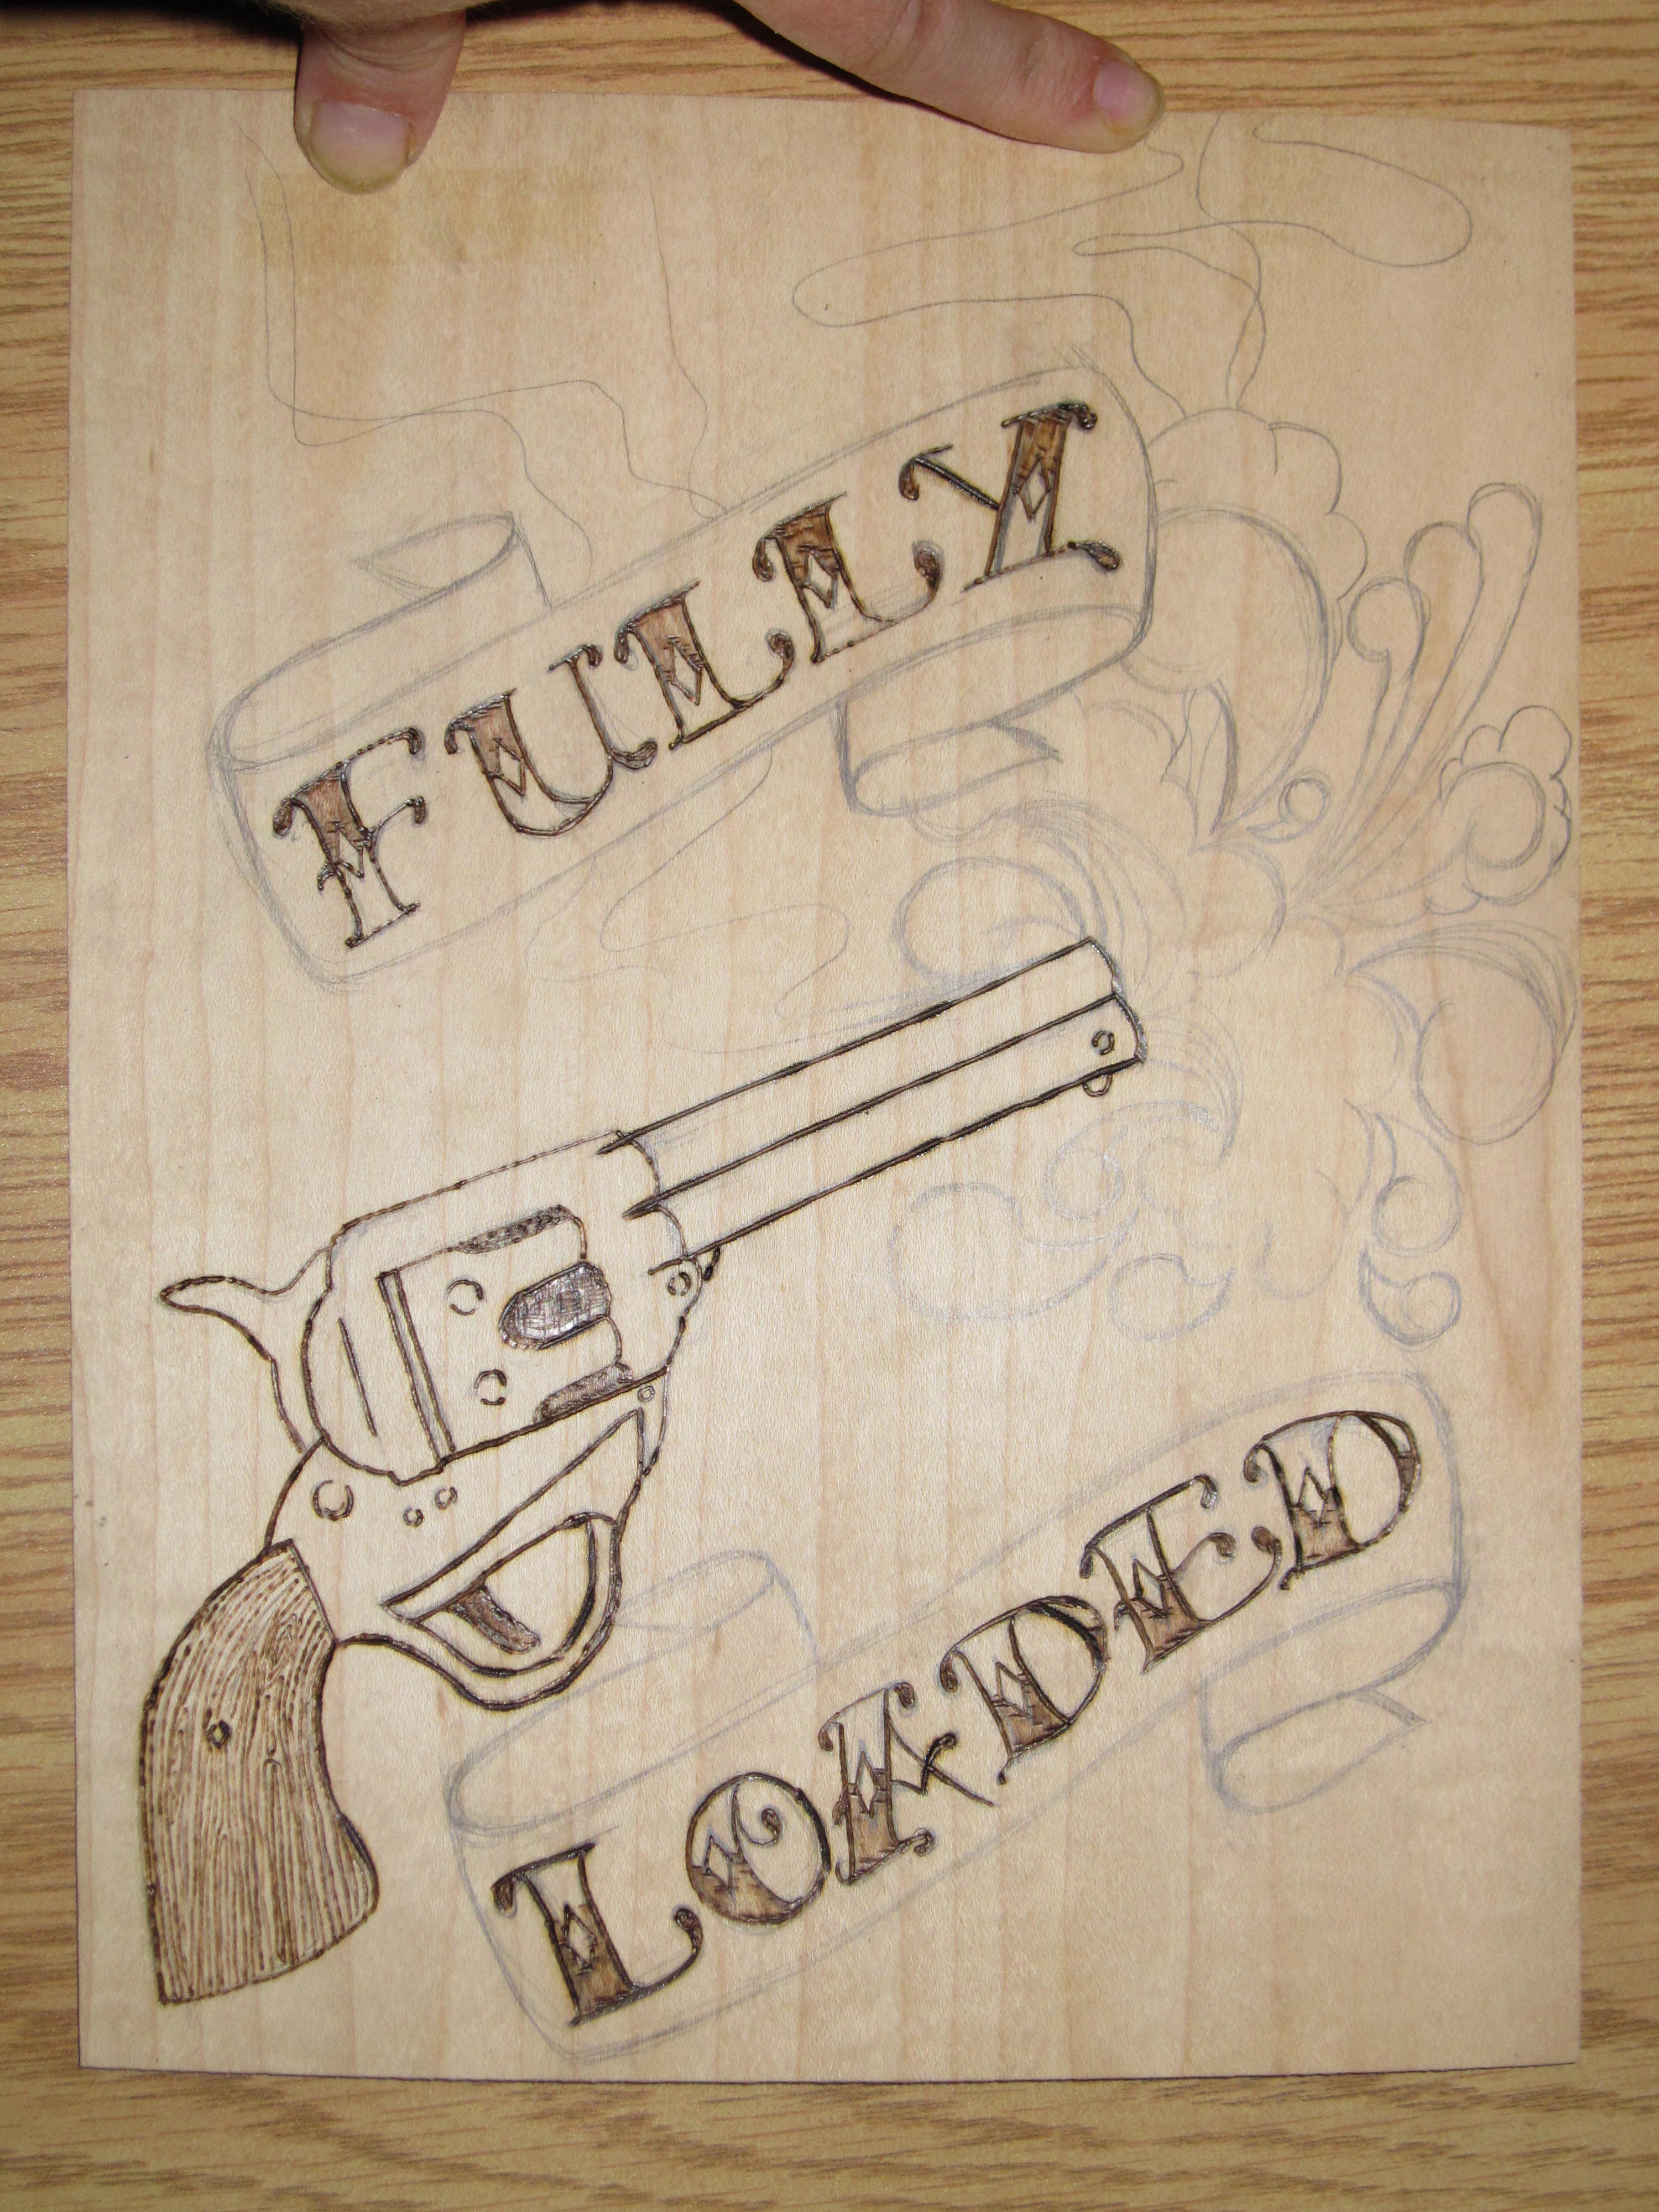
Next I work on the design on the trigger and barrel of the gun. I tend to work from the bottom left corner as I’m right handed and although I smudge the pencil a bit sometimes I like to see what I’ve already done as I’m working on the next part so I can compare the colouration. You’ll learn the more you practice that sometimes your soldering iron heats up too much and you need to unplug it, let it cool, and start again. You can also get soldering irons where you adjust the temperature but mine’s not that fancy.
If the smudging of graphite (pencil) is bothering you try using a piece of foam or something comfortable to rest your wrist and forearm on. You can always use one of those foam/gel wrist cushions you can purchase from any computer store, that works well. The reason why I don’t like to use anything is because I like to rotate the piece of veneer as I’m working so as I’m moving around a lot I don’t like to have anything in my workspace. It’s best to keep it clear and keep anything remotely flammable away while doing this as you don’t want to chance hurting yourself.

STEP 3
STEP 3: CONSISTENCY IN TYPOGRAPHY
When I drew out the design I free-handed the design. You can always be precise and measure out everything with a ruler and drafting tools but I’m not a big fan of mechanical looking things, I like the “do it yourself” look. It’s especially impressive once you’ve developed a steady hand and your work looks near perfect, we all know how hard it is to achieve that and people appreciate your work more for it.
I sometimes use my thumb or part of my hand as a guide rather than a ruler so my design remains consistent. You’ll notice the size of the banners are relatively the same, therefore as long as you keep the lettering relative to the banner it will look great. I outline the typography at this point without filling in the colouring. I find this works best for me because sometimes I fill in the entire letter, sometimes half, sometimes with cross-hatching….it really varies and being creative means experimenting so try different styles and go beyond this tutorial.
STEP 4
STEP 4: SHADING YOUR TYPOGRAPHY
You’re probably excited to see your piece coming along at this point, but make sure to REMAIN PATIENT. If you rush any part of the design it will show later because some parts will be lighter/darker depending on how much pressure you applied and how long you applied it. You’ll notice I filled in the word “Fully” half way down starting from the stop and the word “Loaded” half way up starting from the bottom. I chose this because I wanted to subtly draw the viewer’s eye into the central design. It helps in the visual harmony of the piece, this is a skill you learn to hone over time.

STEP 5
STEP 5: FINE LINES AND DETAILS
I love this part so much because this is the “panache” and the “pizzaz” of your pièce de résistance THE DETAILS! There are so many ways you can cross-hatch, it’s a traditional technique used in pen & ink illustrations and really translates well on wood if done correctly. I tend to use this technique:
a. determine the light source so you know where to shade (for example: if you pretend there is a light highlighting the gun on the top left then shade the bottom right of the object)
b. start with the finer lines first and slowly build up the thicker lines (such as outlines)
c. start in one direction and then the opposite
d. emphasize the area you just worked on by surrounding it with thicker, bolder lines or “bursts of smaller lines”. Remember, there are all kinds of variations but this is what I used and I really like how it turned out.

STEP 6
STEP 6: BURNING CURVED LINES AGAINST THE GRAIN OF THE WOOD
Ok, take a deep breath, you’re going to need to have a calm steady pace. I like to move the piece of veneer with my hand as I’m burning the line as you’ll come to learn things like sap or moisture can ruin the consistency of your lines. I like to follow the line lightly at first and then go over it again a second time just in case I mess up the line it’s easier to cover up a little hiccup than try to hide a big mistake.

STEP 7
STEP 7: SHADING AND DEPTH
I don’t like to go crazy with shading because sometimes it can make a design look really “muddy” or “messy” so I usually go over little details like the underside of the banner, the puffs of smoke, the barrel of the gun and look for anywhere that needs attention.
HERE’S A GOOD TIP: Take the piece and put it 15′ away from you. Now, squint your eyes and you’ll find you can see all the shading or “grey areas” a lot clearing. Look for any gaps or noticeable areas in your design that lacks detail. Another good way to improve the details is have someone else take a look at your piece, preferably someone you know as you’ll probably get a brutally honest answer, and ask them to critique your work. I learn a lot from other people because they see things I might not necessarily notice.
VOILA! You’re Done! STEP 8: ENJOY YOUR HARD WORK! You can always choose to add colour or gradation by using paints or natural dies such as oils or teas. Experiment and have fun!

STEP 8
